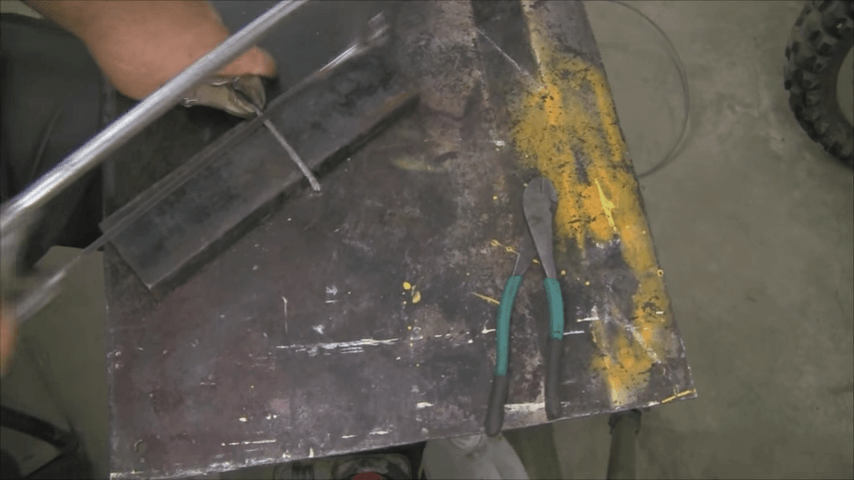
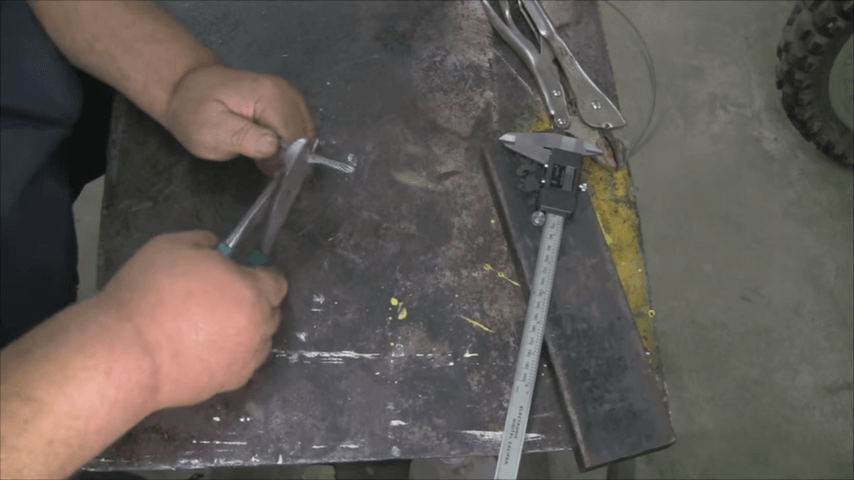
Cutting a worn or damaged winch cable correctly is important for ensuring the safe operation of your vehicle or piece of equipment.
Fraying or improperly cut winch cables can lead to dangerous cable failure or attachment issues.
By following the proper technique and using the right tools, you can neatly cut your steel winch cable for easy reinstallation or replacement.
Why You May Need to Cut Your Winch Cable
There are a few reasons why you may need to cut your existing winch cable:
- Excessive wear or damage: Fraying strands, kinks, or corroded sections mean it’s time to cut away the bad section and reconnect the cable.
- Converting to a different length: You might need a longer or shorter winch cable to suit a new application.
- Replacement: Over time, cables wear out completely. Cutting the old one allows you to install new cable.
Materials Needed
Before we begin, it’s essential to gather all the necessary tools to ensure a smooth and safe cutting process:
- Cable Cutters: Opt for heavy-duty cutters designed for steel cables to ensure a clean cut.
- Gloves: Protect your hands from sharp strands and possible injury.
- Safety Glasses: Shield your eyes from flying debris.
- Wire Brush: Clean the area around the cut to avoid dirt interfering with the cut.
- Rags: For cleaning the cable post-cut and handling any lubricant or debris.
Select Cut Location

Selecting the right location to cut a winch cable is a critical step that requires careful consideration and inspection.
Here’s a detailed explanation of how to effectively choose where to make the cut:
1. Inspect for Damage:
- Thorough Inspection: Start by carefully examining the entire length of the winch cable. This inspection should be methodical and detailed. Look for visible signs of wear, such as fraying, which are loose or broken strands of the cable, indicating that the cable’s integrity is compromised. Also, check for kinks, which are tight bends or twists that could weaken the cable structure, and any signs of corrosion or rust, which could indicate material degradation.
- Identify Weak Points: As you inspect the cable, mark any areas of concern. These could include sections where the cable has been pinched, crushed, or has visible cuts. Such defects can significantly reduce the cable’s strength and its ability to safely handle loads.
- Assessing Damage: It’s important to understand that any damage to a winch cable can be a potential failure point under load. Damage not only weakens the cable but also poses a safety risk to operators and equipment. Identifying these areas accurately is crucial for determining the best location for the cut.
2. Choose Cut Location:
- Away from Damage: Once you’ve identified damaged sections, the cut should be made in an area free from any defects. This means selecting a spot that’s as far away from the identified damage as possible while still leaving enough usable cable length. Cutting close to damaged areas can leave weak points in the cable, which could lead to failure during use.
- Consider Future Use: The cut location should also consider the operational needs of the winch. This includes thinking about the length required for specific tasks or applications. For instance, if the winch cable is used for towing or lifting, ensure that the remaining cable length will suffice for these tasks.
3. Ensure Sufficient Length:
- Measure Twice, Cut Once: Before making any cuts, double-check the cable length you’ll need for its intended use. This involves considering the winch drum’s capacity, the operational reach required, and any safety guidelines related to cable length. It’s better to err on the side of caution and leave a bit more cable than you think you might need, as you can always make another cut, but you cannot add length back once it’s removed.
- Account for Reinstallation: If the cable will be reattached to the winch drum or connected to another piece of hardware, ensure there’s enough length to securely make those connections. This might include leaving extra cable to loop through a hook or eyelet and back onto itself for a secure attachment.
Cutting Technique

The cutting technique for a winch cable involves several important steps to ensure a clean, safe, and effective cut.
Each step, from preparation to the actual cut, requires careful attention to detail.
Let’s delve into these steps to understand their significance and how to execute them properly:
1. Preparation
- Safety First: Before starting, it’s essential to wear protective gloves and safety glasses. This gear protects your hands from sharp edges of the cable and your eyes from potential flying debris or dust particles that could cause injury during the cutting process.
- Cleaning the Cable: Use a wire brush to thoroughly clean the area around where you plan to make the cut. This step is crucial because dirt, grease, or any debris on the cable can interfere with the cutting process, potentially leading to a jagged or uneven cut. Cleaning the cable also helps in inspecting the cable more clearly, ensuring the cut is made in the right location away from any damage.
2. Positioning
- Proper Alignment: Holding the cable cutters perpendicular to the cable is vital for achieving a straight, clean cut. Perpendicular alignment ensures that the cutting force is evenly distributed across the cable, reducing the risk of crushing or bending the cable instead of cutting it. This precision is important for the integrity of the cut end, as an angled cut can compromise the strength and safety of the cable.
- Steady Hands: Ensure that your hands are steady and that the cable is securely held in place. Any movement during the cut could result in an uneven finish or partial cuts, which could necessitate additional cuts and potentially waste cable length.
3. Cutting
- Firm, Consistent Pressure: Applying a firm and consistent pressure is key to cutting through all the strands of the cable simultaneously. A winch cable is made up of multiple strands of wire twisted together, so uneven pressure might cut through some strands while leaving others intact, leading to fraying.
- Achieving a Clean Cut: The goal is to make a straight, clean cut through all strands of the cable in one go. This is important not only for the appearance but also for the functionality of the cable. A clean cut ensures that the end of the cable can be easily passed through sheaves, pulleys, or reattached to the winch drum without any strands sticking out or fraying, which could hinder the reinstallation process or compromise safety.
- Preventing Fraying: Fraying is a major concern when cutting winch cables because frayed ends can be difficult to thread through winch components and can significantly weaken the cable’s load-bearing capacity. A precise, clean cut minimizes the risk of fraying, preserving the integrity and strength of the cable for future use.
Post-Cut Treatment
The post-cut treatment of a winch cable is a crucial step in ensuring the safety, longevity, and usability of the cable after it has been cut. This process involves a series of actions aimed at addressing the rough edges and potential hazards created by the cutting process. Let’s explore each step in detail:
1. File or Sand
- Why It’s Necessary: When you cut a winch cable, the cut ends can be left with sharp edges or burrs. These are tiny, sharp protrusions on the metal that can cause injury to hands or damage gloves when handling the cable. Additionally, these sharp edges can snag on objects, including the winch drum, guides, or the load itself, potentially causing damage or unsafe conditions.
- How to Do It: Using a metal file or sandpaper, gently smooth down the cut end of the cable. The goal is to remove any sharp edges or burrs, creating a smooth finish that’s safe to touch and won’t cause damage. Work your way around the circumference of the cable, paying particular attention to any particularly sharp or rough areas. The process doesn’t need to apply excessive force; gentle, consistent strokes will effectively remove the burrs.
2. Clean the Area
- Importance of Cleaning: After filing or sanding, metal filings or dust can remain on the cable and surrounding area. These small metal particles can be a hazard if not properly cleaned up, as they might cause injury or, if left on the cable, could contribute to corrosion over time.
- Cleaning Method: Take a clean, dry rag and thoroughly wipe down the cut area of the cable. This removes any residual metal filings or dust from the surface. If necessary, you can also use a lightly dampened rag to help pick up any stubborn particles, but ensure the cable is dried afterward to prevent rusting.
3. Tape the End
- Purpose of Taping: Taping the end of the cable serves a dual purpose. Firstly, it helps to protect the cable’s end from fraying. Fraying occurs when the individual strands of the cable begin to unravel, which can weaken the cable and make it difficult to thread through equipment or attach fittings. Secondly, taping provides a safety measure, covering any remaining rough spots and preventing injuries during handling.
- How to Tape: Select a durable tape, such as electrical tape or duct tape, that’s strong enough to withstand the conditions the cable will be exposed to. Wrap the tape around the end of the cable, covering the cut area completely. Ensure the tape is wrapped tightly and overlaps itself to create a secure seal. If the cable will be used in harsh conditions, consider using a tape that’s weather-resistant for added protection.
Conclusion
Cutting a winch cable may seem straightforward, but attention to detail and safety can make a significant difference in maintaining the cable’s longevity and functionality.
By following the steps outlined, you ensure a clean cut, reducing the risk of fraying and ensuring your cable is prepared for safe use. Remember, safety first: always wear protective gear and handle tools with care.
With your cable now properly cut, it’s ready for reinstallation or replacement, set to take on the demands of its next task.

