Proper installation of cable clamps and winch stoppers is crucial for the safe and reliable operation of winch systems.
Whether you’re using a winch for off-road adventures, hauling heavy loads, or any other application, improperly fitted components can lead to cable slippage, fraying, or even complete failure, posing serious safety risks.
This guide will walk you through the step-by-step process of fitting cable clamps and winch stoppers correctly, ensuring your winch system functions as intended and minimizing potential hazards.
Understanding Cable Clamps and Winch Stoppers
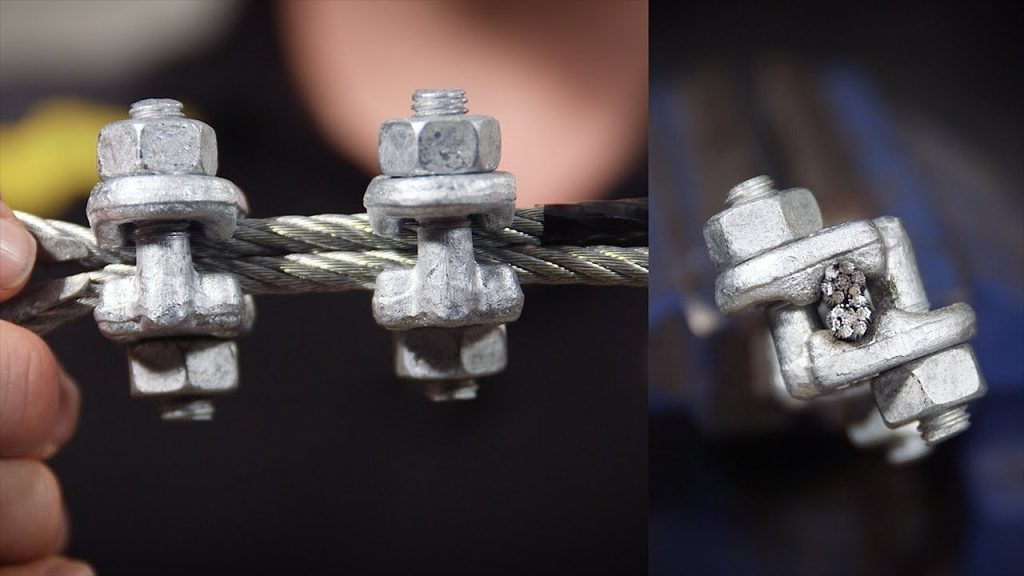
Cable clamps are metal devices designed to secure two parts of a cable together, preventing slippage and ensuring a stable connection.
They consist of a U-bolt, saddle, and nuts, and are commonly used in winch systems to secure cable loops.
Winch stoppers are components placed on the cable near the winch drum, preventing the cable from being pulled too far into the winch mechanism.
They help protect the winch and cable from damage, ensuring smooth and safe winch operations.
Tools and Materials Needed
To install cable clamps and winch stoppers, you’ll need the following tools and materials:
- Pliers: For gripping and tightening the clamps and stoppers.
- Wire Cutters: To cut the cable to the appropriate length.
- Crimping Tool: To secure the clamps onto the cable.
- Cable Clamps: To connect cable loops securely.
- Good Winch Stoppers: To prevent the cable from retracting too far into the winch.
Preparing the Cable
Before installing any components, prepare the cable as follows:
- Measure: Determine the required cable length for your winch system, allowing for loops and connections.
- Cut: Use wire cutters to cut the cable to the measured length, making sure to create a clean, straight cut.
- Prevent Fraying: Immediately tape or solder the ends of the cable to prevent fraying, which can weaken the cable and cause it to unravel.
Fitting the Cable Clamps
Installing cable clamps is a critical step in securing winch cables effectively. Below are the detailed steps:
- Loop the Cable: Start by forming a loop at the end of the cable. The loop size should match the requirements of its intended use, such as connecting to a hook or another winch component. This loop provides a secure point for attachments and helps prevent the cable from fraying.
- Position the Clamps: Place the cable clamp over the loop, ensuring the saddle is on the load-bearing side of the cable. This positioning ensures that the clamp can properly grip the cable, preventing slippage. The U-bolt should be on the other side of the cable, with the nuts threading onto it.
- Tighten: Using pliers or a crimping tool, tighten the nuts on the clamp, ensuring a snug fit. Tightening is crucial to prevent the loop from coming undone under tension. Make sure to tighten both nuts evenly, ensuring an even grip across the clamp.
- Check: After tightening, test the clamp to ensure it is secure. If it slides or feels loose, re-tighten it. Repeat the checking process to make sure the clamp maintains its position under pressure.
Installing the Winch Stopper
To fit the winch stopper:
- Position: Slide the stopper onto the cable, placing it near the winch drum, but allowing enough cable length for its intended use.
- Secure: Tighten the stopper according to the manufacturer’s instructions, ensuring it stays in place.
- Check: Make sure the stopper is properly positioned and prevents the cable from retracting too far into the winch.
Safety Checks and Precautions
To ensure safe and reliable winch operations:
- Inspect Regularly: Check the cable clamps and winch stopper for wear, damage, or looseness before each use.
- Handle Carefully: Always wear gloves and eye protection when handling cables and winch systems.
- Avoid Hazards: Be aware of potential risks such as frayed cables, overloaded winches, and slipping components, addressing these issues immediately.
Troubleshooting Common Issues
Here are solutions to common problems:
- Loose Clamps: Re-tighten or replace the clamp if it slips, ensuring it’s properly secured.
- Damaged Stoppers: Replace the winch stopper if it’s cracked, worn, or otherwise damaged.
- Frayed Cables: Cut away damaged sections and re-prepare the cable, ensuring a clean, straight cut.
Conclusion
Proper installation of cable clamps and winch stoppers is essential for safe and reliable winch operations. By following this guide, you’ll ensure your winch system functions smoothly, minimizing risks and prolonging its lifespan. Remember to regularly inspect and maintain your equipment, and to address any issues promptly for safe and effective winch operations.
